Intro
Hi Everyone, I was was recently approached by Saal Digital to see if I would be interested in trailing their professional line of photobooks and providing a review.
For full disclosure I was offered a coupon to a set value with which to trial their process and product quality but with no strings attached in terms of the review content, so with all that our of the way lets dive in.
Project choice
Because I hadn't heard of SAAL Digital before now, I didn't feel I could take a risk with a project other than a personal one. There was one I have been meaning to get round to that would have a very discerning customer to judge the results, that's Mrs Radcliffe (hereafter called 'The Client')
I got married just over a year ago and while we loved the images from our photographer I haven't quite got round to making our album. We wanted to tell the story of the day in quite an individual way and didn't feel anyone else would quite 'get' it. So with that all said it's on to the design.
I got married just over a year ago and while we loved the images from our photographer I haven't quite got round to making our album. We wanted to tell the story of the day in quite an individual way and didn't feel anyone else would quite 'get' it. So with that all said it's on to the design.
Workflow
Being a layout oriented project I decided to go with the Windows design software, I can't comment on the other options such as mobile or macOS as didn't use them.
It's a small install of about 35mb, nothing else to report here, install it and wait for it to load some data and you are off...
The workflow breaks down pretty simply......
SELECT PROJECT TYPE - REFINE OPTIONS - DESIGN - REVIEW - UPLOAD - CHECKOUT PORCESS
I'll take each one in turn and briefly go through it but I won't be dwelling o nit too much as it would turn into a monster article.
Select Project type
Not much to be said here, there is a huge variety of projects to chose from, the voucher i received was valid only for the professional line of photobooks so that was my choice.
After some back and forth choosing images and considering layouts I decided on the 30x21
Refine Options
Again a wide variety of options to chose from.
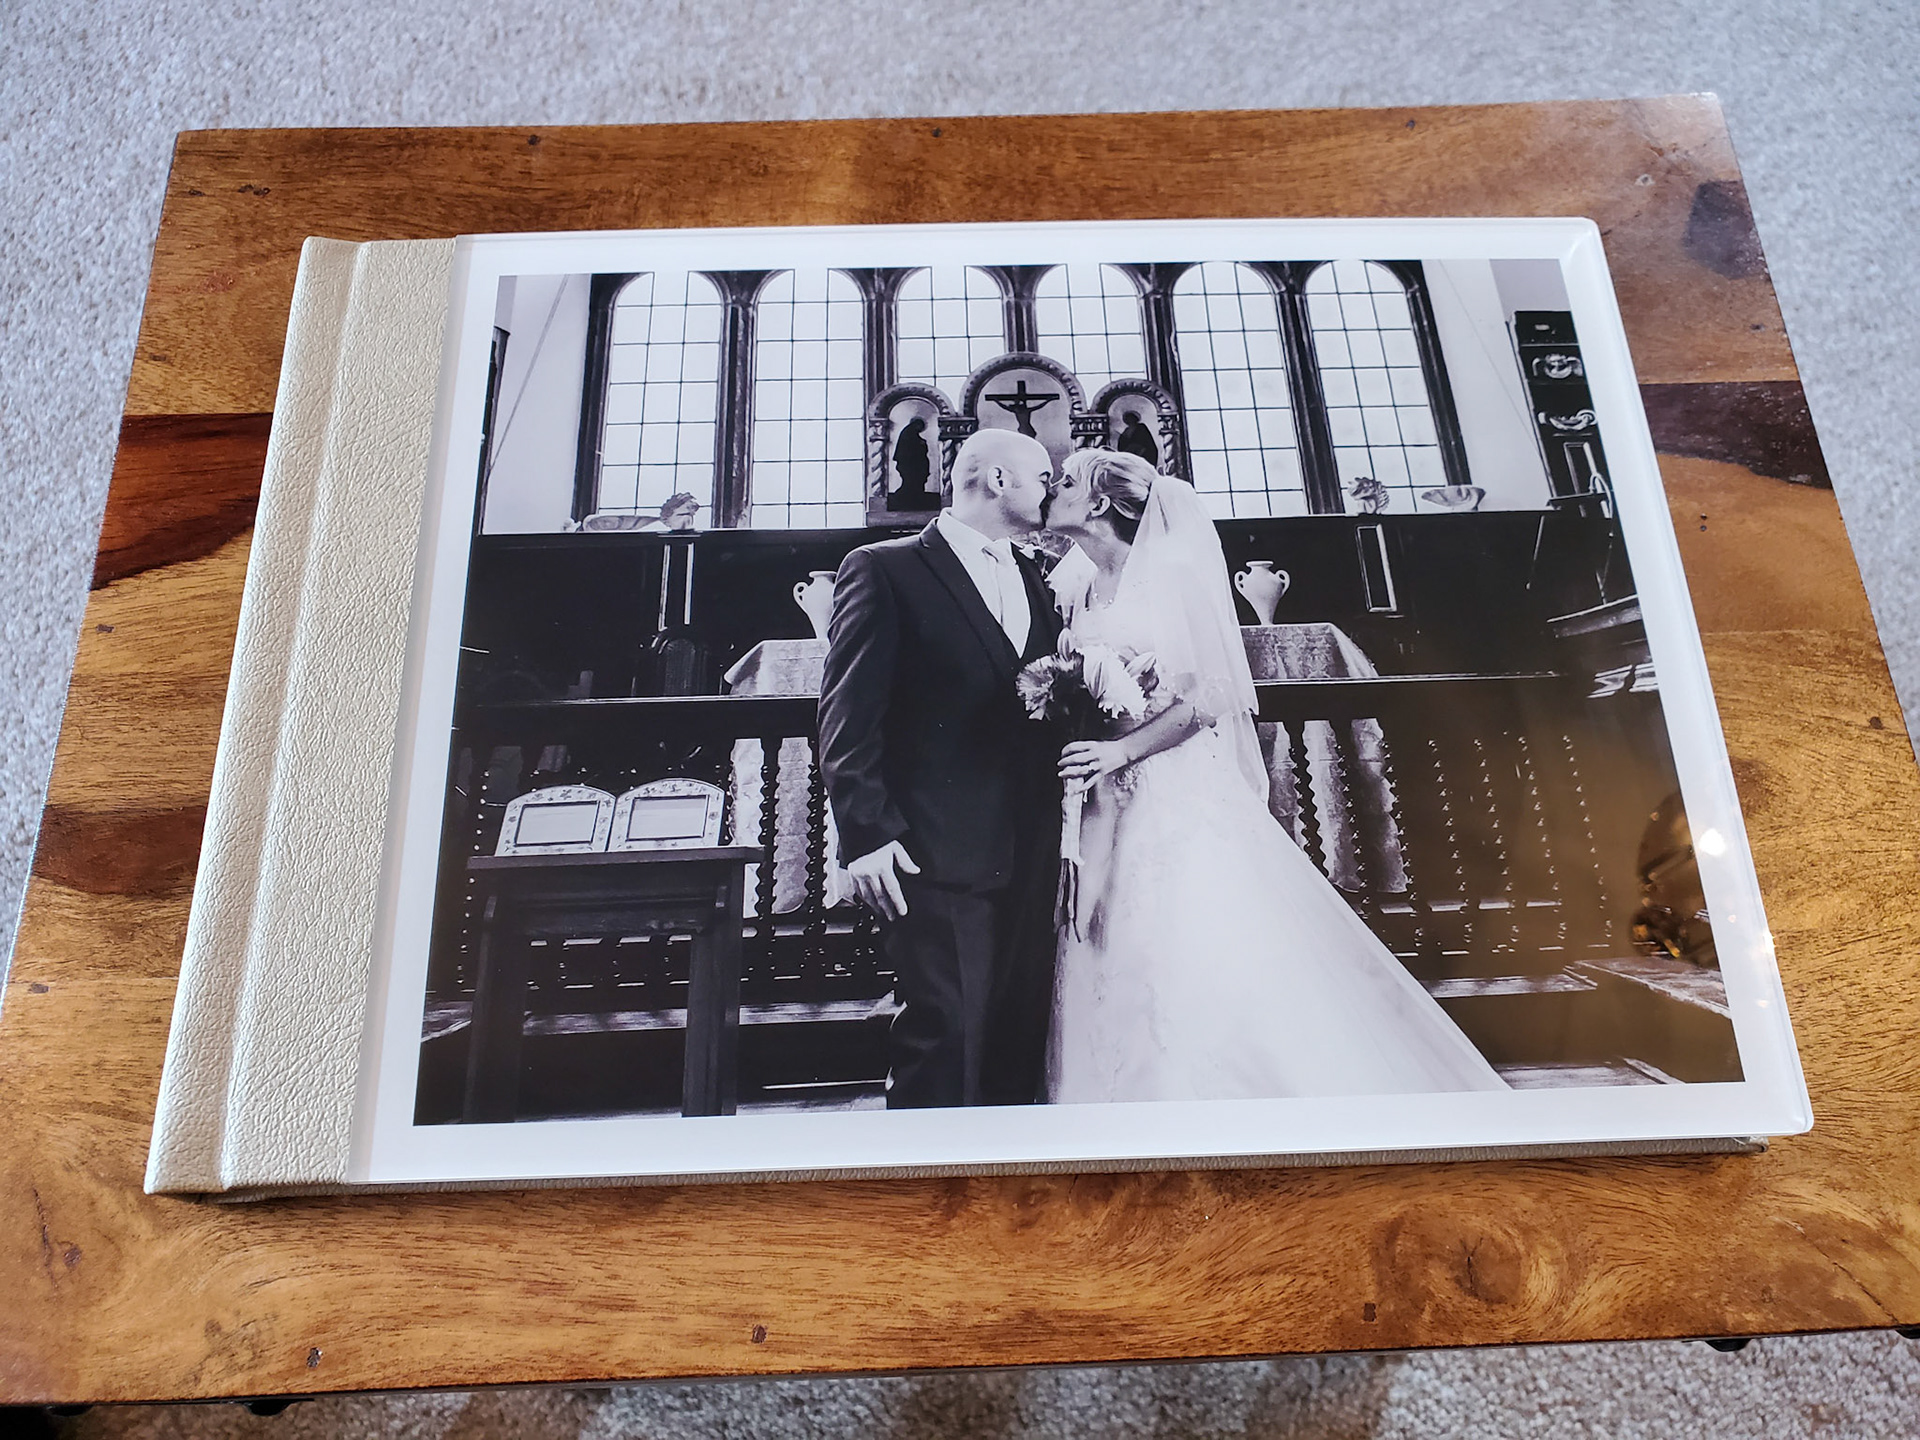
I went with the Matte photo paper, the Acrylic front with Cream Leather cover and no gift box so I won't be commenting on the quality of those. I made a few displeased noises about the choice of acrylic for the front cover. Couldn't help remembering my workshops at school where I made some horribly cheap looking stuff in that material, however it was the only way to get my wife's favourite image of the day on to the cover which is something I thought she would really like. More on this below but really I shouldn't have worried.
Design method
There are so many options here that I'm sure anyone can get exactly what they want and find a workflow that balances time vs quality, hoping I don't miss any but I think these are the main routes.
1. Use the app (my chose route which is broken down further below)
2. Use their Professional zone (Link) to download design plugins for Photoshop and InDesign
3. You can directly upload Pdfs using the results of method 2 or from any other program so long as you meet the design specs provided.
Saal Design Software
Once you open the design software you are greeted with 3 options as a starting point, these can be changed in the app later as well so you aren't going to get railroaded or lose work.
I started with the one minute photobook out of curiosity to see what sort of job it did. In short it did a very good job of analysing the images I added to the project and arranging them into something that was pleasing. The main issue for me as mentioned above was that I wanted to tell a specific story with these images which the software could not anticipate so I needed to get a bit more specific. However I think there is a place for the one minute process even in these projects as it can give you inspiration or churn out layouts that you may not have considered.
At this point you can choose a design line which are basically themes allowing you to add a variety of artwork, borders and other stylistic flourishes to the project. I went back and forth through a few of these but went with Curlicues in the end. Again you can change this when ever you want.
In the end I ended up generating a one minute photobook, then trashing the pages I didn't like, moved layouts and images around and added new pages to fill in the gaps in the story. Being able to do this in a none destructive way and using the auto layout options meant I could really rip things up and make edits without being overly concerned that I would ruin anything.
The auto layouts are a series of customisable pages complete with theme related artwork that can be used in place of (or in combination with) you own layouts. There's a lot of options and it's one click to turn the auto layout of to allow you to move things around if you want something specific. In a professional capacity i'm always looking for best quality vs. time spent and I think there is a great balance here.
Review
Having arranged everything the way I wanted and running through the final design with the client :) we moved on to the review stage.
This is where the software checks for a variety of elements that will effect final quality as well as an general errors that you may have left in your project, a low resolution image or an empty double spread for example. I believe most of these can be ignored if you wish but it's nice to have those gotchas spelled out before you hit the purchase button.
The one I found most valuable was the resolution tool tip which highlights the quality of image at the size you have requested, since a few of our favourite images from later in the evening were taken on smart phones or other less professional equipment it was really good to be able to adjust our layouts based on the resolution to be sure we got the best out of what we had.
I never found the errors obtrusive/restrictive in fact I don't remember encountering one I couldn't ignore if I had wanted.
Upload and Checkout
Once you are happy with your reviewed project you can add it to the cart and proceed to checkout. Nothing new or scary here, just standard stuff.
It's during this phase that your project and images will be uploaded to Saal's servers and I will say I prefer it this way that on other services I have used where you have to upload images first which seems very inefficient in terms of time, bandwidth and just limits creativity.
With this system you have total freedom to do anything with you local images and then only upload the package of data required to create your final approved photobook, great stuff.
I will say that my confidence had grown in the product throughout the process above and the final project ended up being larger that I originally intended, so without going into specifics I did end up paying a certain amount of my own money for the album, not sure if that inspires any additional confidence but it's what happened.
Shipping/Packaging
Prices were competitive and the package arrived quickly. With the havoc of Covid and related delays I'm not going to comment too much here, I just received delivery of a Viltrox lens that had been sat in a shipping warehouse for nearly 3 months.
The book was well protected for transport and arrived in perfect condition so no worries there.
The End result
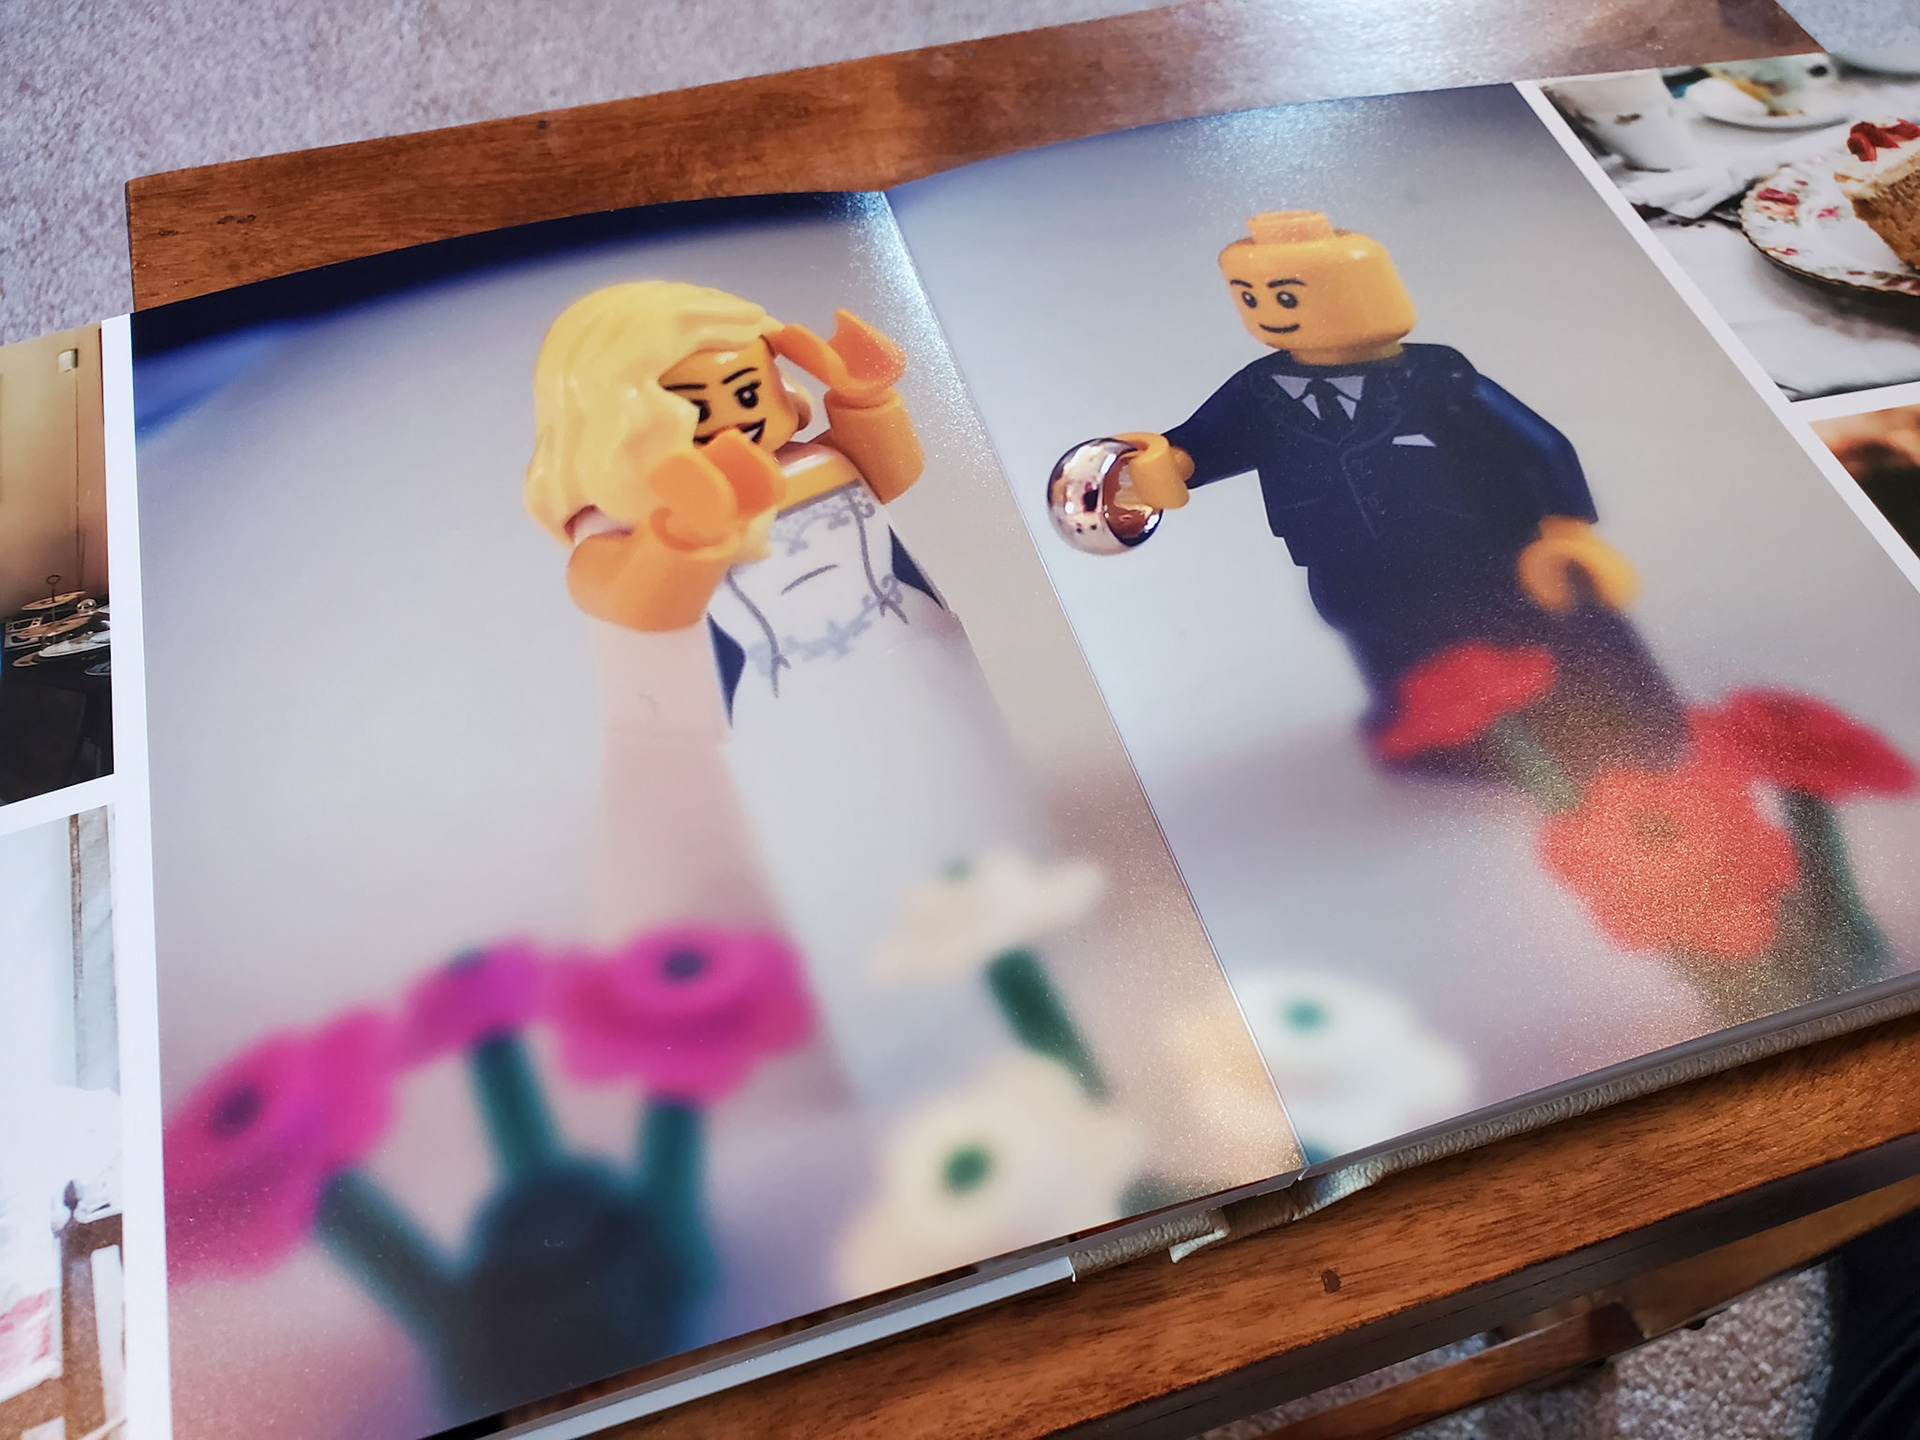
I have failed to keep the waffle to a minimum as I know most people just want to see images of how the book turned out based on the options I picked but I thought it was important to outline a bit about the overall design process.
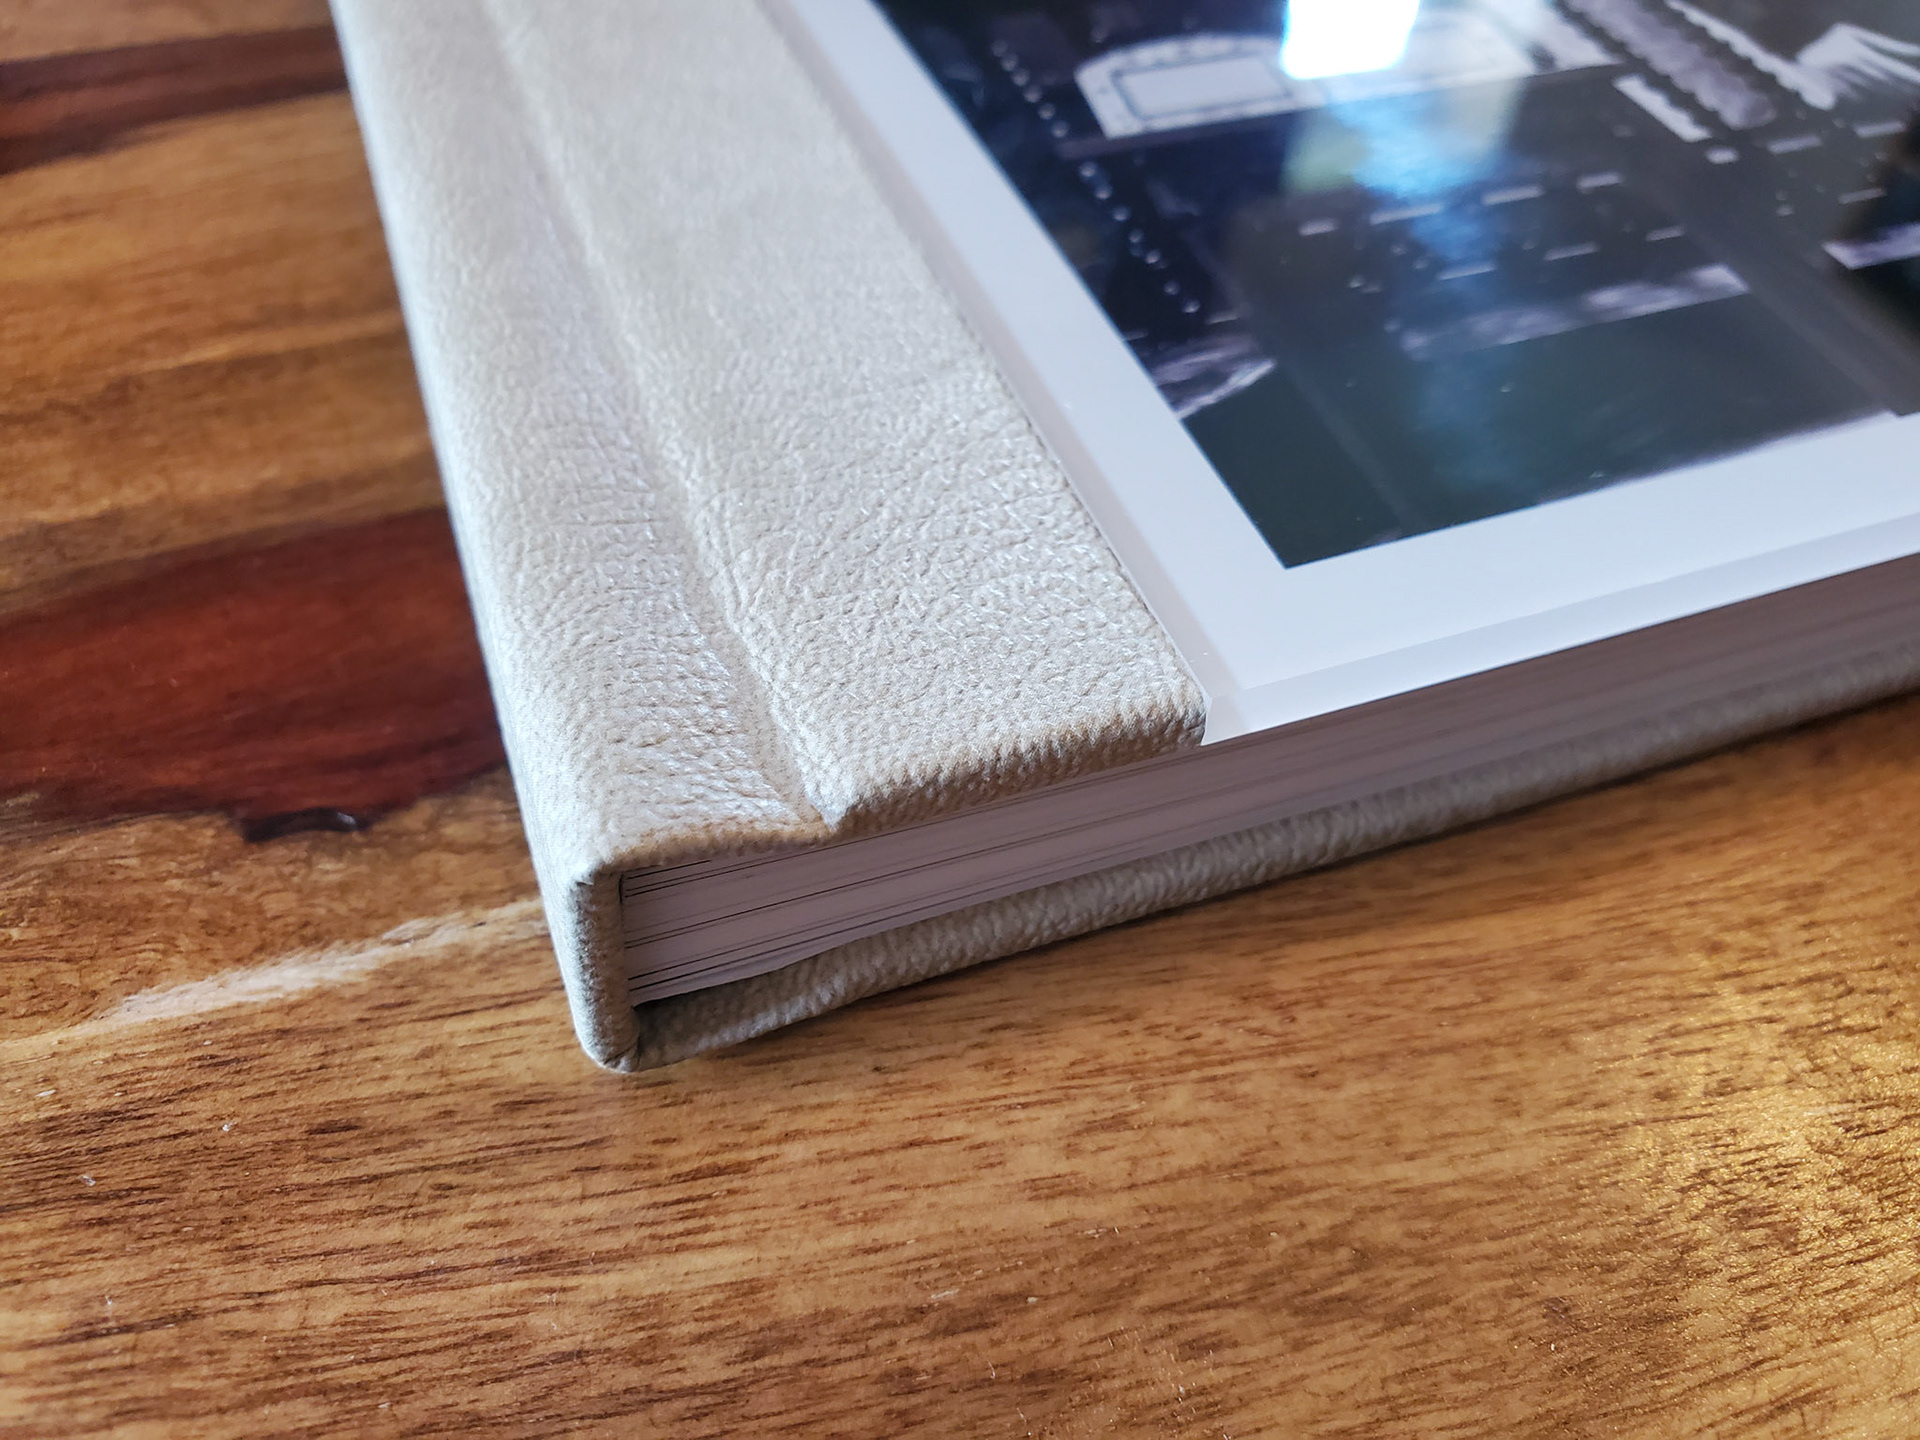
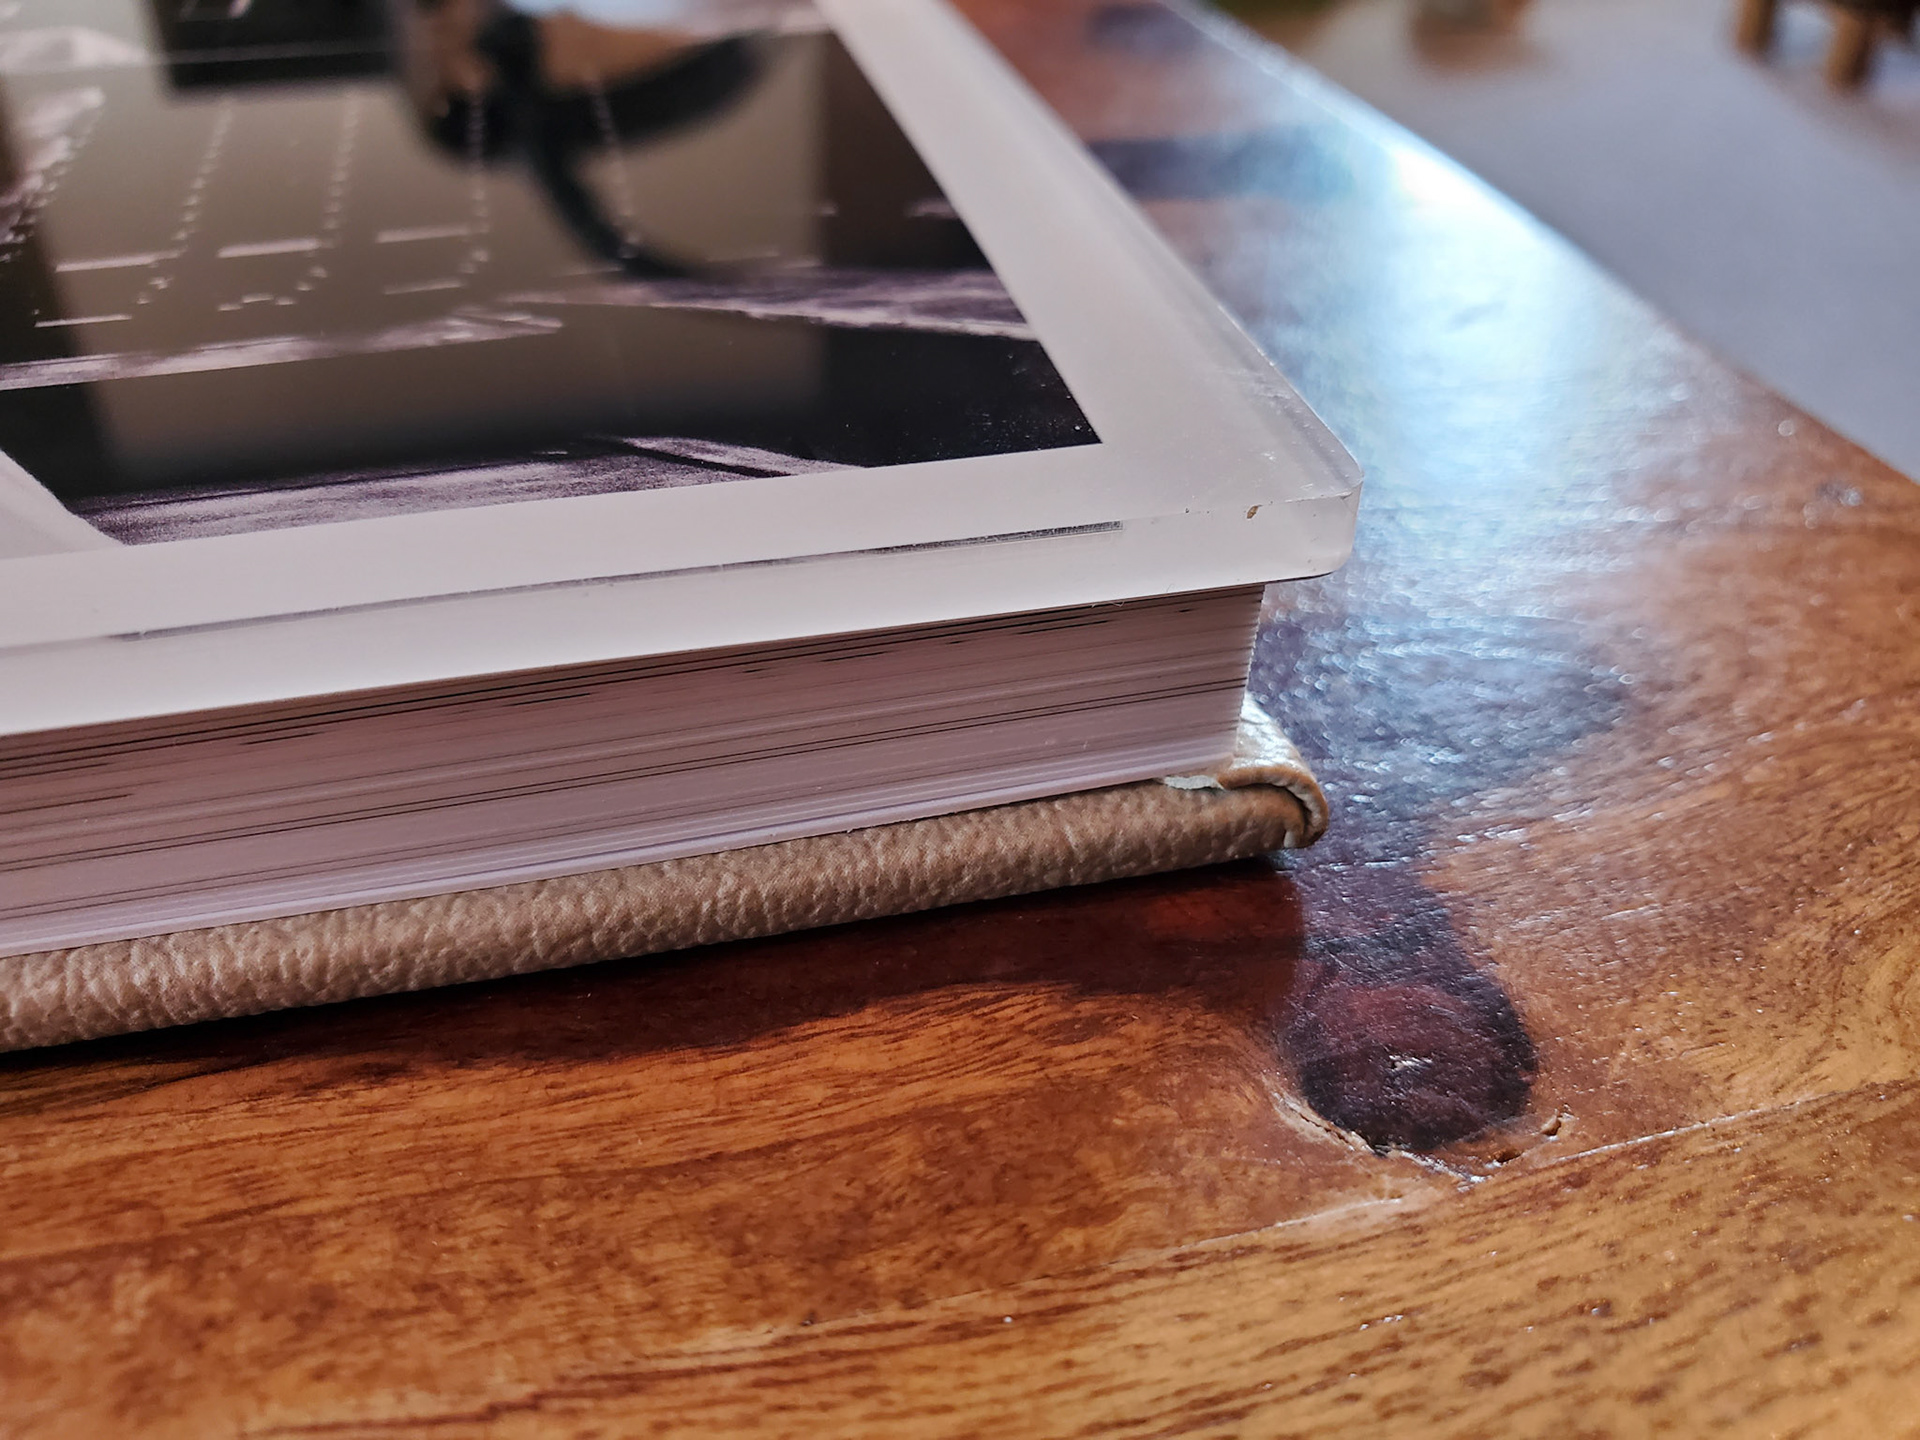
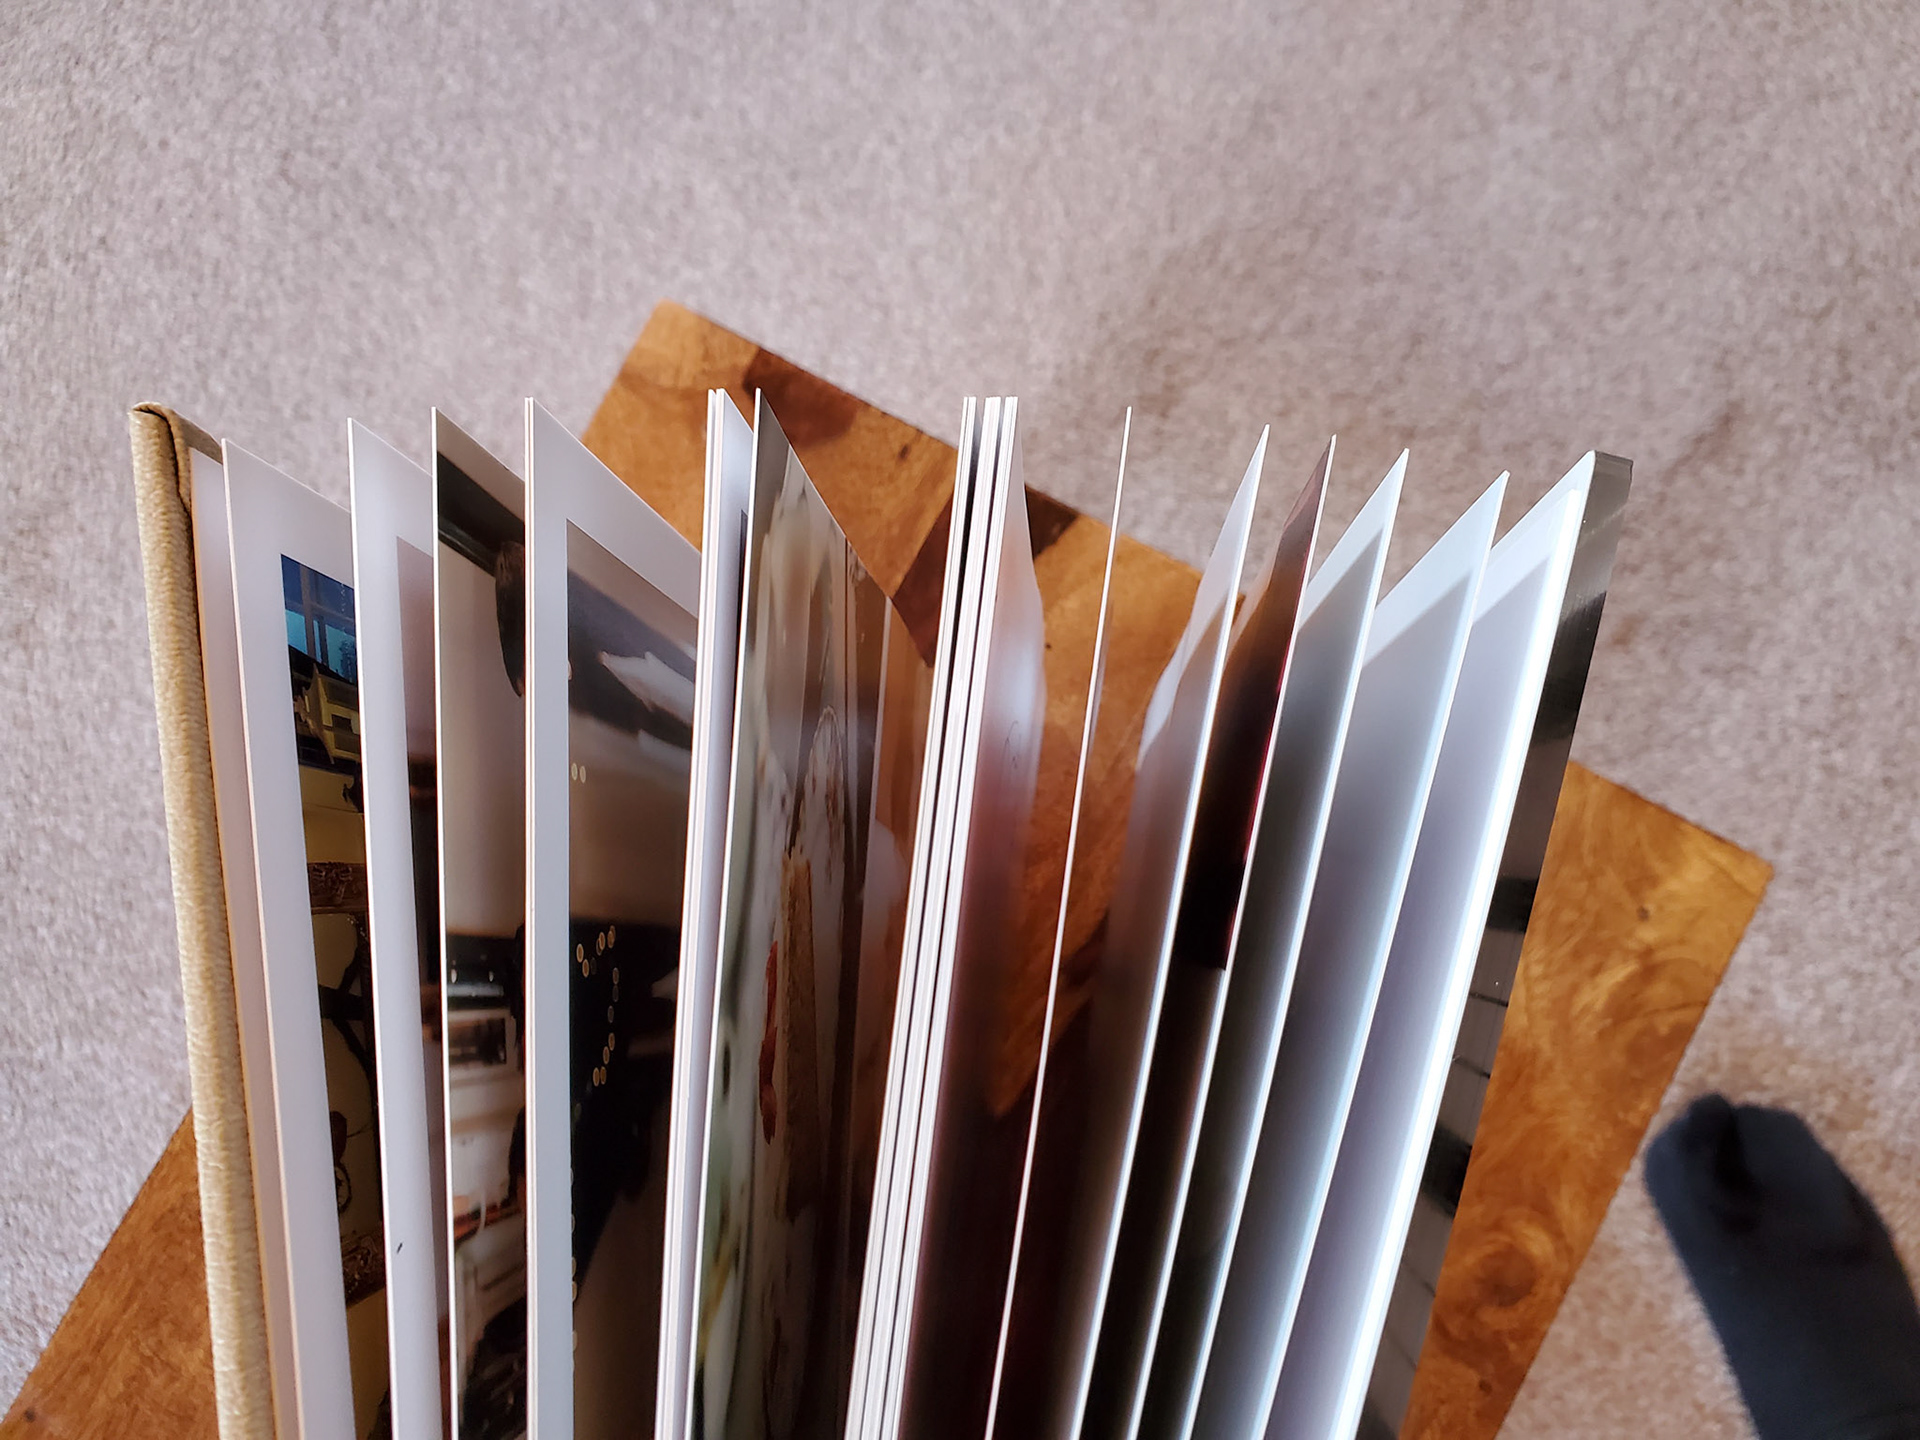
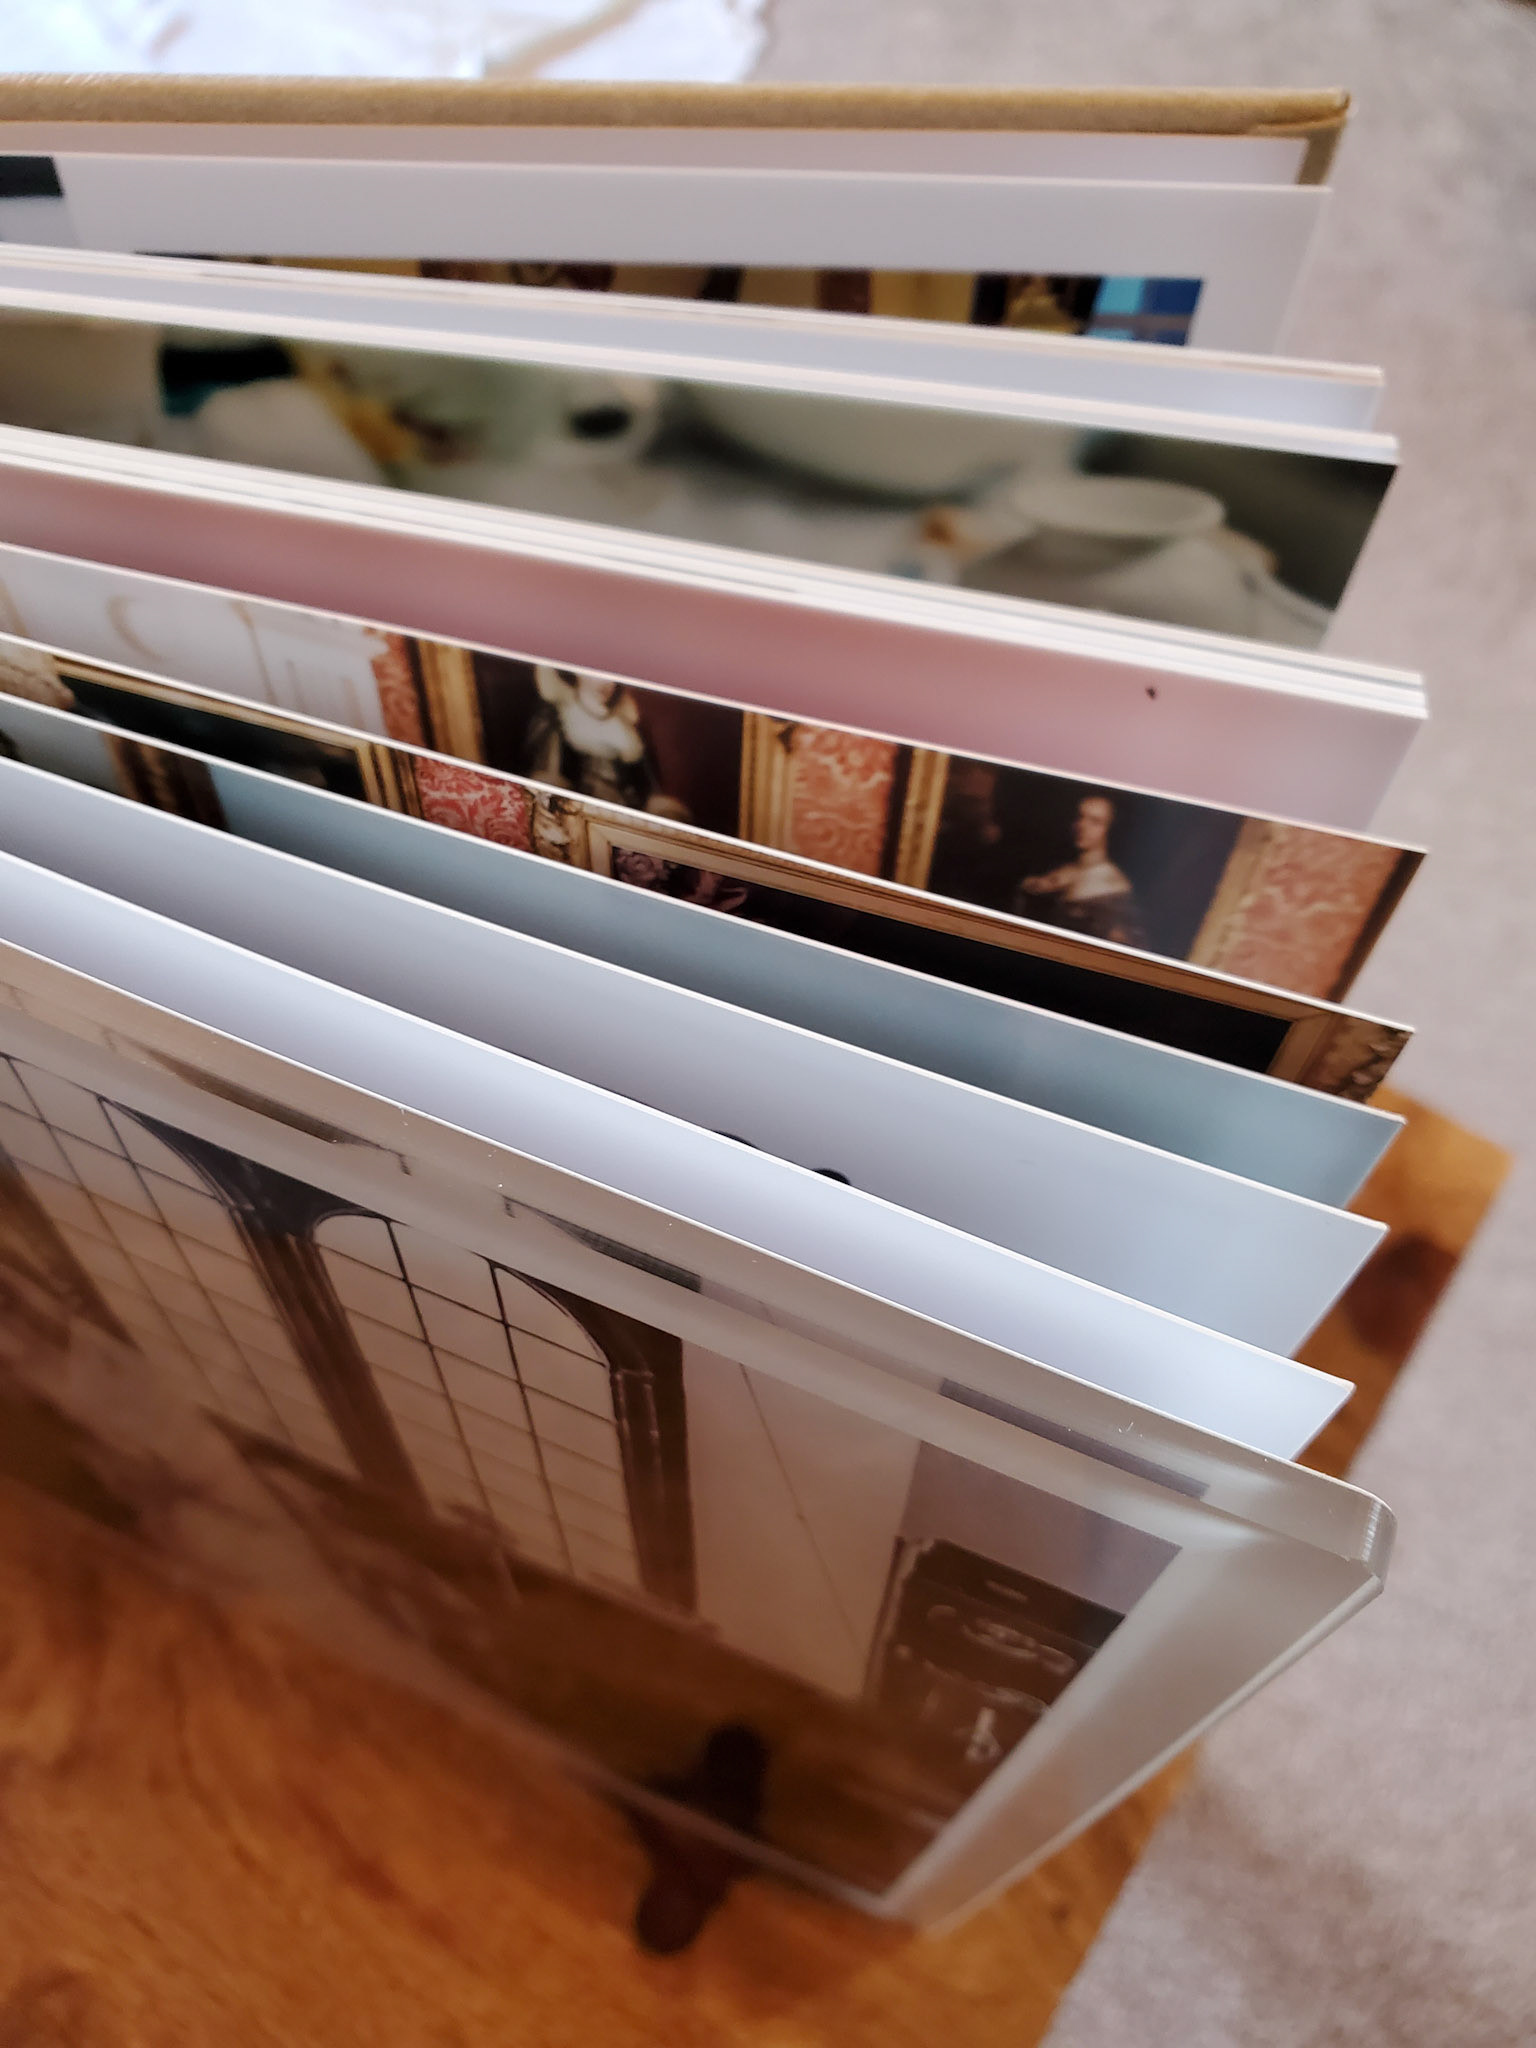
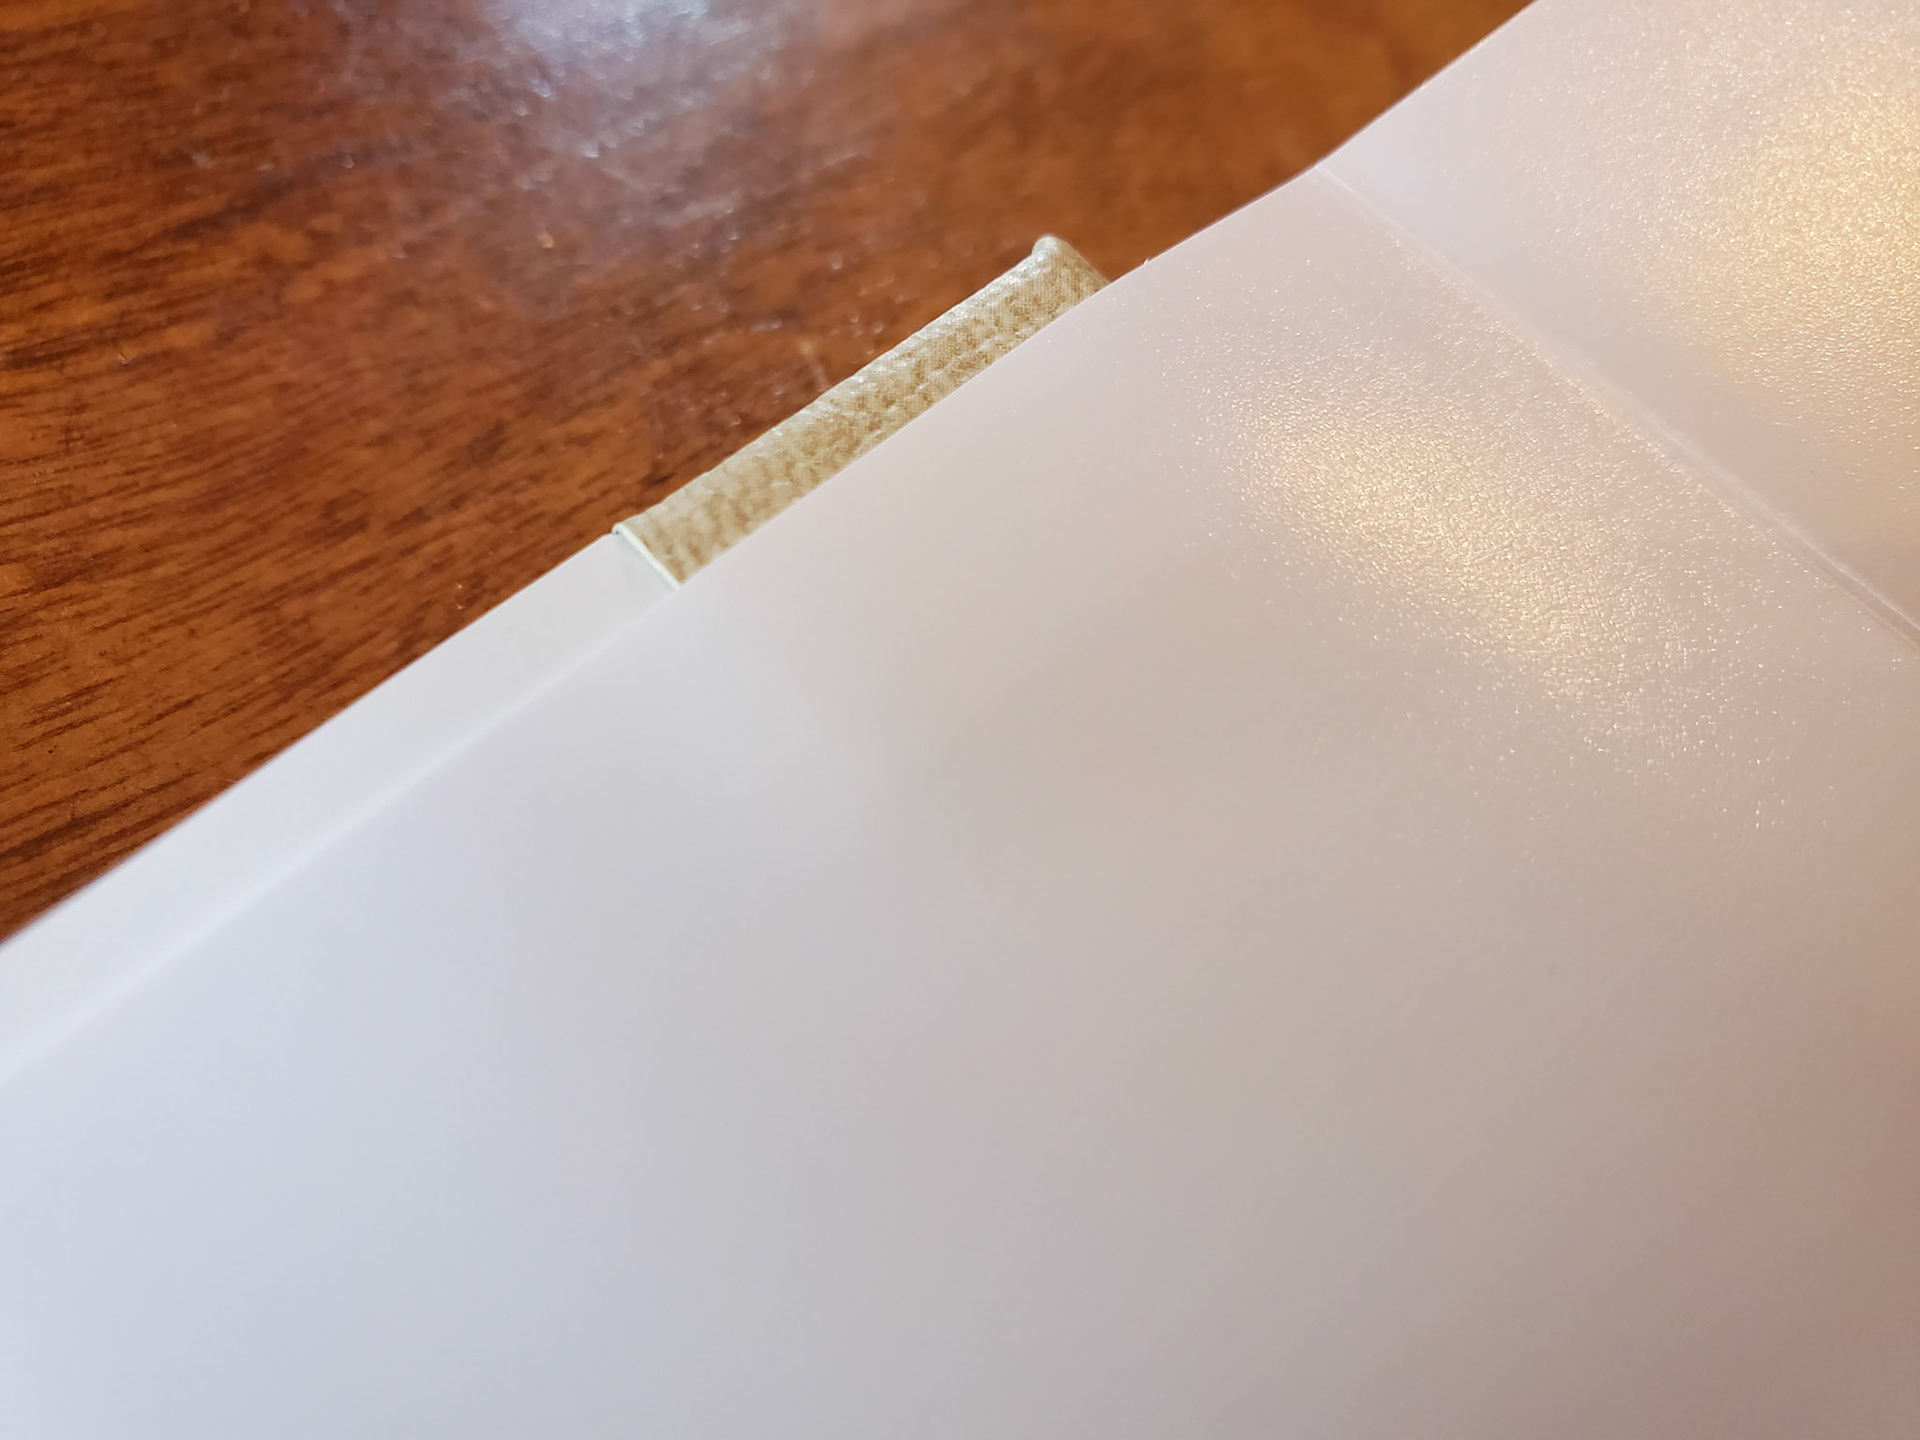
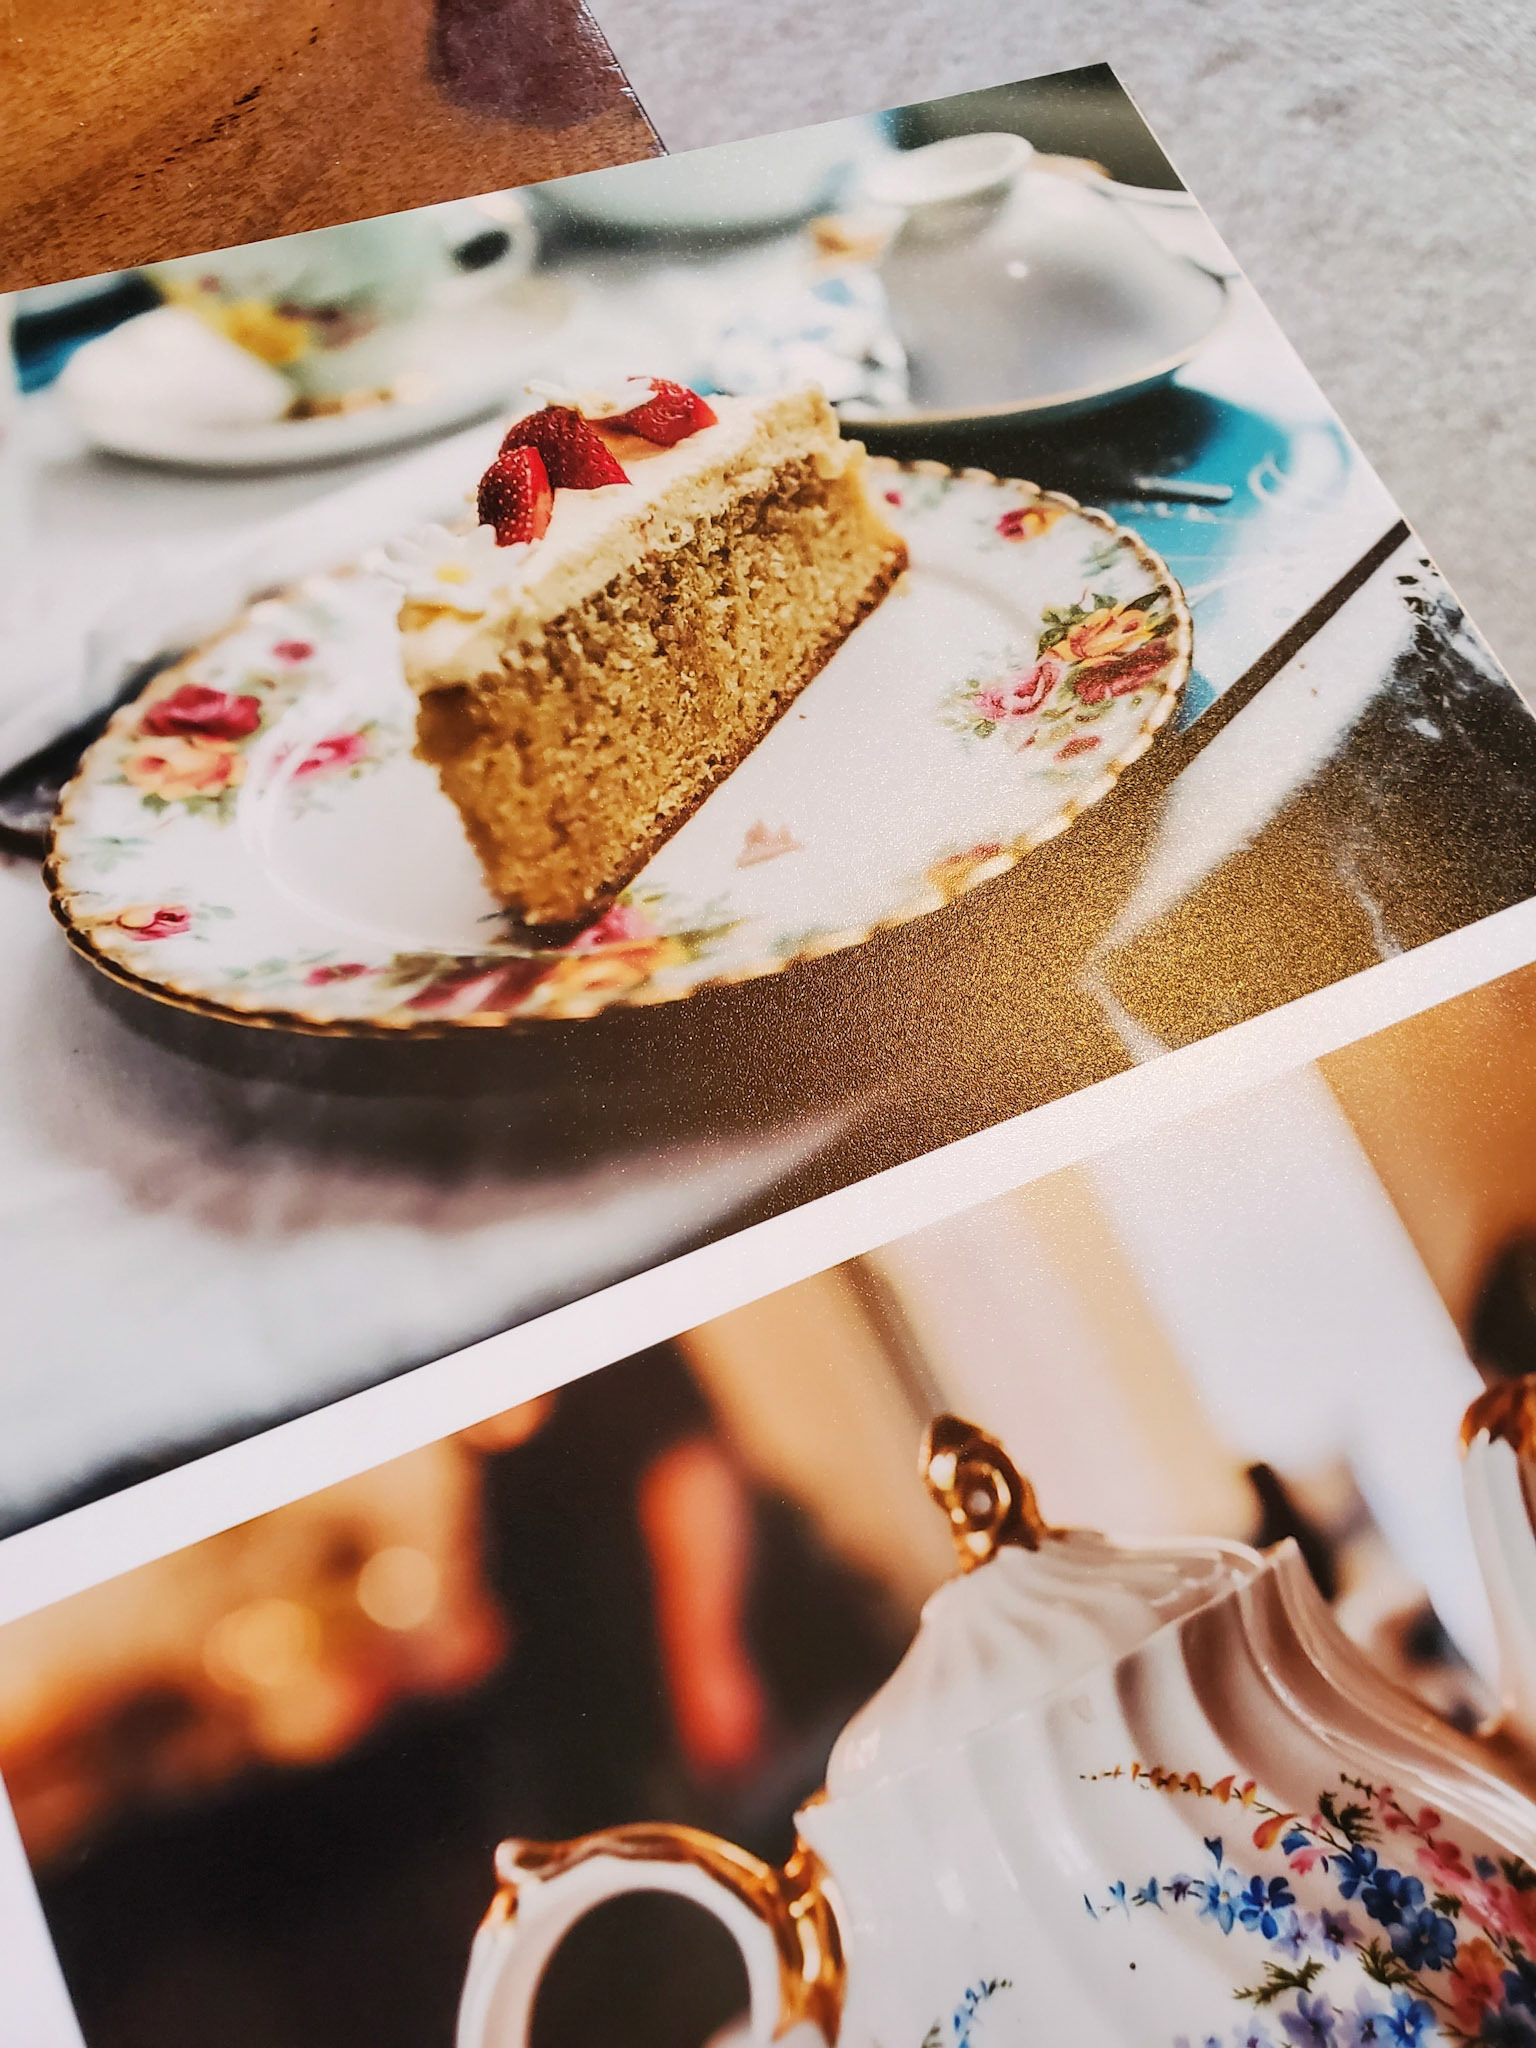
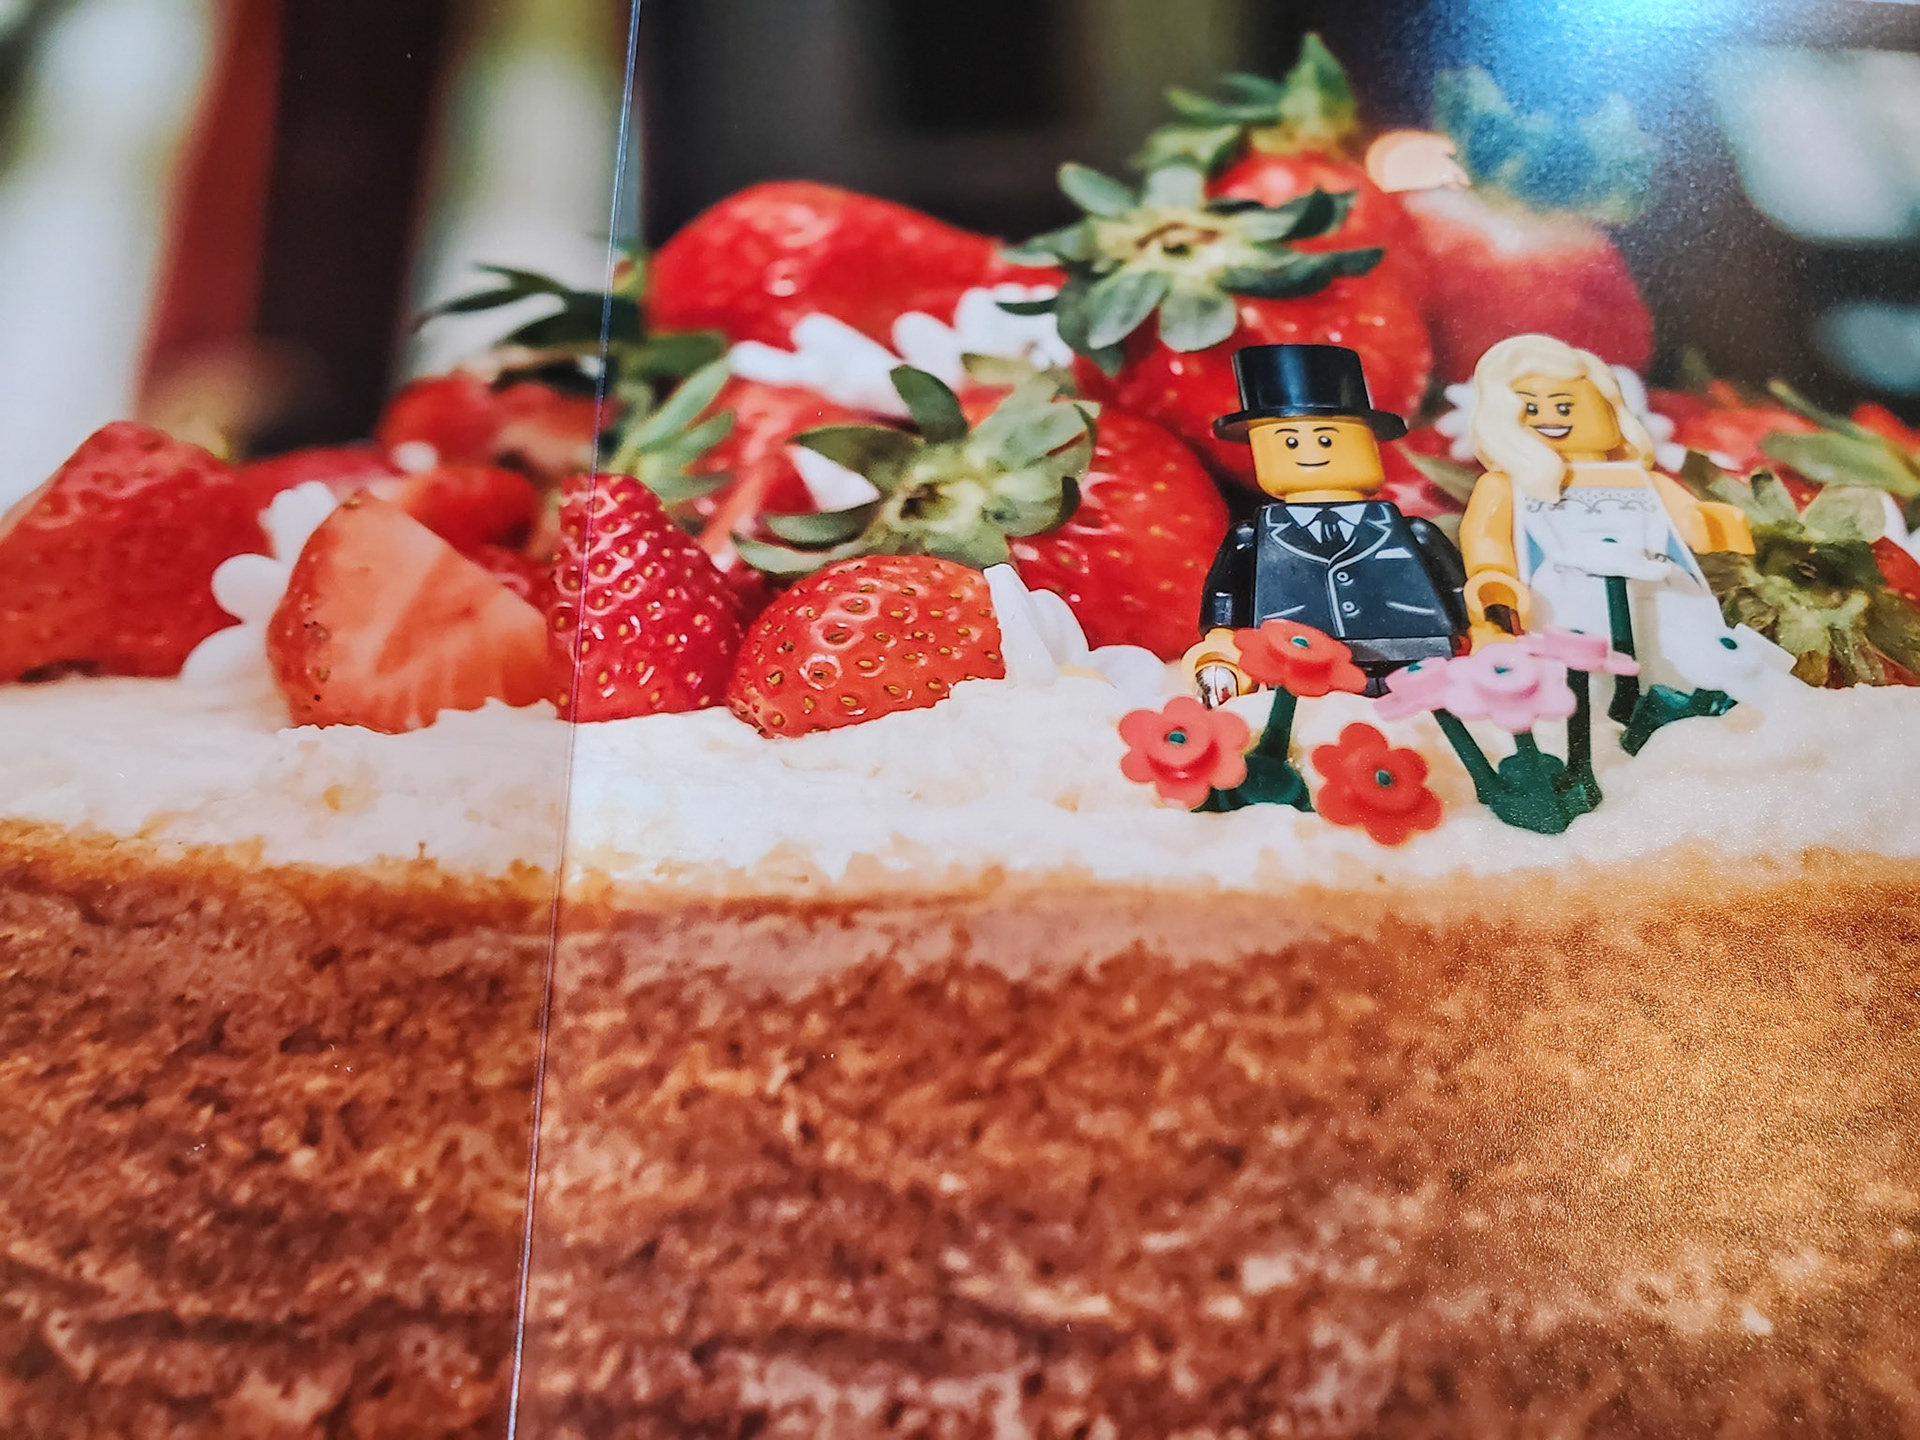
Anyhow here is the finished product...


Conclusion
I'm impressed with the overall experience of the system Saal has created.
From initial software download to delivery of the final product I never felt lost or that part of the process was underdeveloped. Everything I wanted to do I could, either using their presets or by taking manual control.
I feel some companies neglect the software and infrastructure side of the workflow, sure you can get an amazing photobook but how long did it take, did you need to do everything manually?
It's apparent this company have worked hard to create a workflow that allows for a good balance of speed vs. quality which I feel a lot of professionals will appreciate. Your clients are likely to be very happy and you can get great results without spending too much time to get there and should you want something specific, I'm confident you will be able to do that as well.
More themes and style choices would always be appreciated but there are enough to work with and again should you wish, you can just add your own signature elements are work with those instead.
The books itself uses quality feeling materials and I didn't pay extra for the very top end paper or cover options. I can't comment on the quality of the non-professional line.
The binding feels like it still stand up over time with no bubbles or imperfections in the materials.
Comparing the colour reproduction in the book with my high CRI Dell monitor doesn't reveal any differences to speak of, the skin tones match as do the shadow details and highlights. You may notice some clipping of highlights but that is in the images received from the Photographer so there was no way to bring them back as part of this process.
Finally, the Acrylic front cover I was so worried about above, well it turns out to have been a big hit with the client, she loved the fact that her favourite image is on the cover and the material itself creates a kind of depth which might sound strange and is hard to show but as you turn the book it has a pleasing reaction as the light passes through the material.
So that's all folks, if you want a TLDR.
- Quality end product
- Thoroughly thought out processes with no 'gaps'
- Supports fully custom to fully auto processes with many shades in between
- Would I pay full price for the product received......yes
- Would I recommend to a friend.....Already have done
